
Pay bills with Cleo. Keep your books in QuickBooks Desktop.
A simpler way to manage payables without moving off QuickBooks Desktop. Review, approve and pay bills in Cleo, then import the approved bills into QuickBooks Desktop as an IIF file.
IIF export and import, not a sync. Each company file gets its own lists and its own export.
How it works
How Cleo works with QuickBooks Desktop
QuickBooks Desktop stays your accounting system. Cleo handles the payables work around it: reading bills, getting them approved, paying vendors and giving you a file of approved bills to import.
- 01
Import your accounting lists
In QuickBooks Desktop, go to File > Utilities > Export > Lists to IIF Files and tick Chart of Accounts, Customer List and Vendor List. Upload the .IIF file to Cleo. Cleo reads every account, vendor and Customer:Job. Each company file gets its own lists, and you upload a new export whenever the lists change.
- 02
Review and approve bills
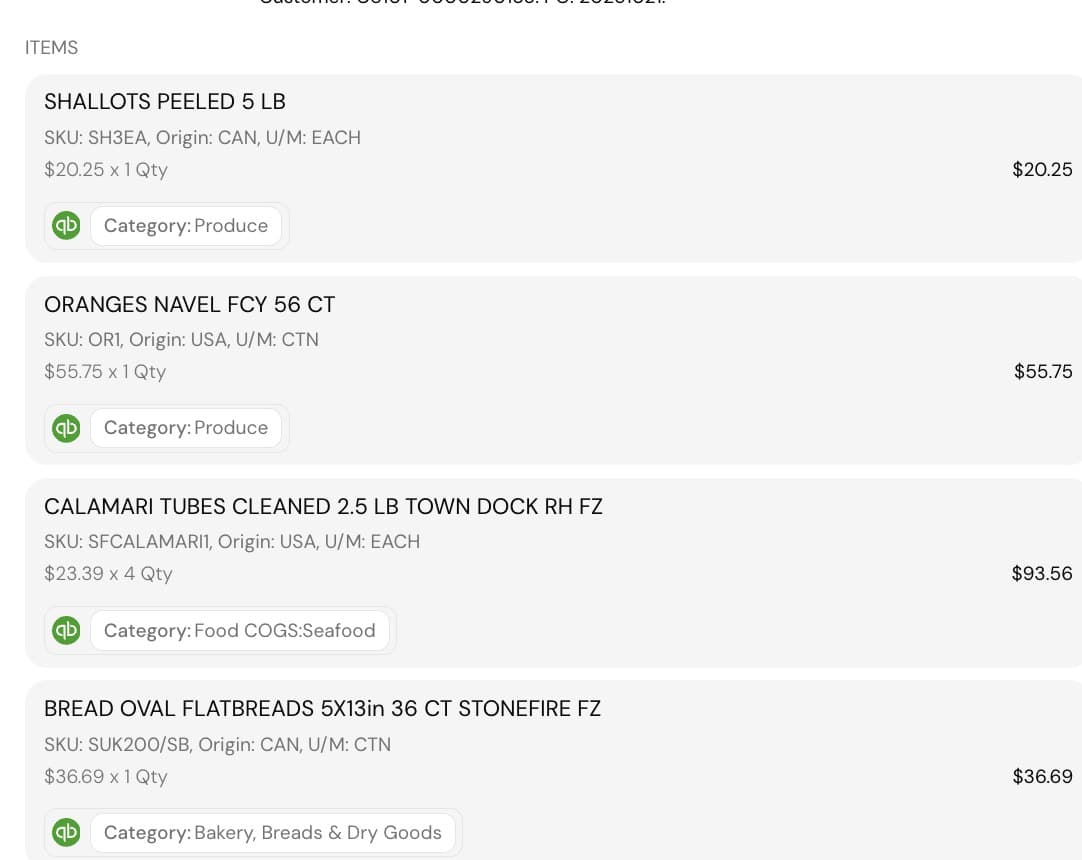
Bills come in by email or upload, and Cleo's AI reads each invoice and its line items. Your team reviews the coding and approves each bill in Cleo before it is paid or exported.
- 03
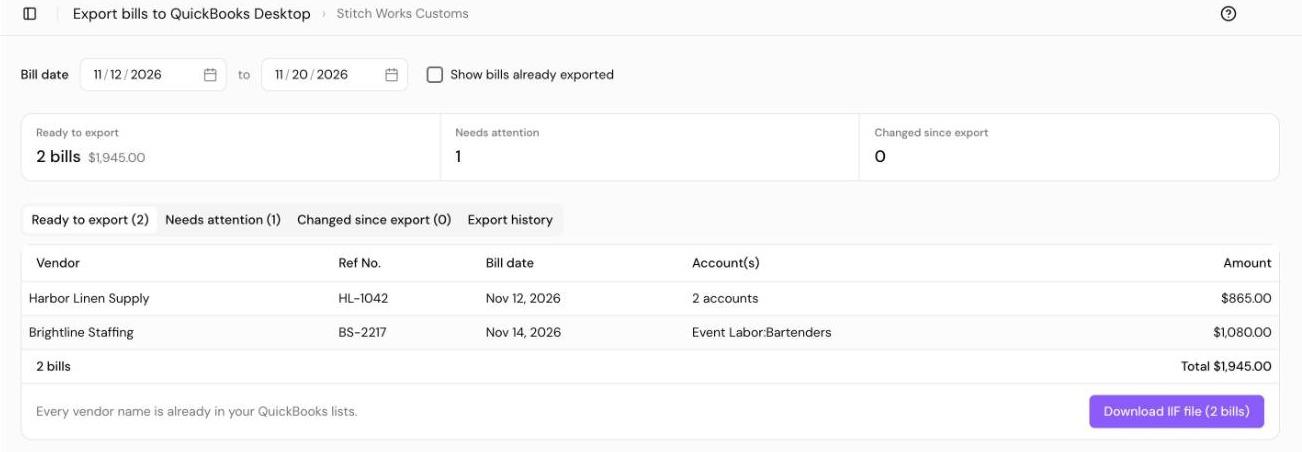
Export bill data
Cleo exports approved bills as an IIF file, one file per company file. Each line carries its account and Customer:Job. Cleo keeps a record of every export, and an export can be undone.
- 04
Import into QuickBooks Desktop
In QuickBooks Desktop, go to File > Utilities > Import > IIF Files and choose the file. The bills land in accounts payable with each line on its account and Customer:Job, so job costing reports include them.
Approvals
Built for your approval process
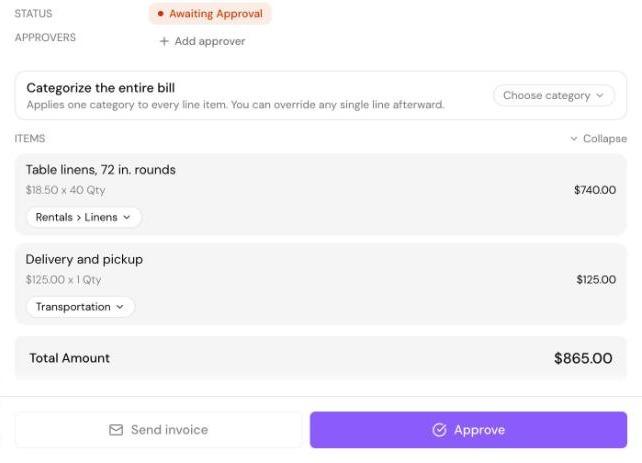
Bills are approved in Cleo before they are paid or exported to QuickBooks Desktop, and you choose who can approve and who can pay.
Separate approval and payment roles
Someone with the Approver role can approve bills without being able to send money. The people who pay bills can be different from the people who approve them.
Partial payments
Pay part of a bill now and the rest later. Cleo records the partial payment and keeps the remaining balance open on the bill.
Coding by event and Customer:Job
Cleo keeps your event schedule as a data table with dates, event names, the QuickBooks Customer:Job and the entity. Its AI suggests each line's event, account and entity from vendor rules, how past bills from that vendor were coded, PO references and dates on the invoice. A person approves the result.
Screenshot needed
Event schedule data table
Cleo's event schedule with dates, event names, Customer:Job and entity columns. Use test data.
The export
What transfers and what still needs review
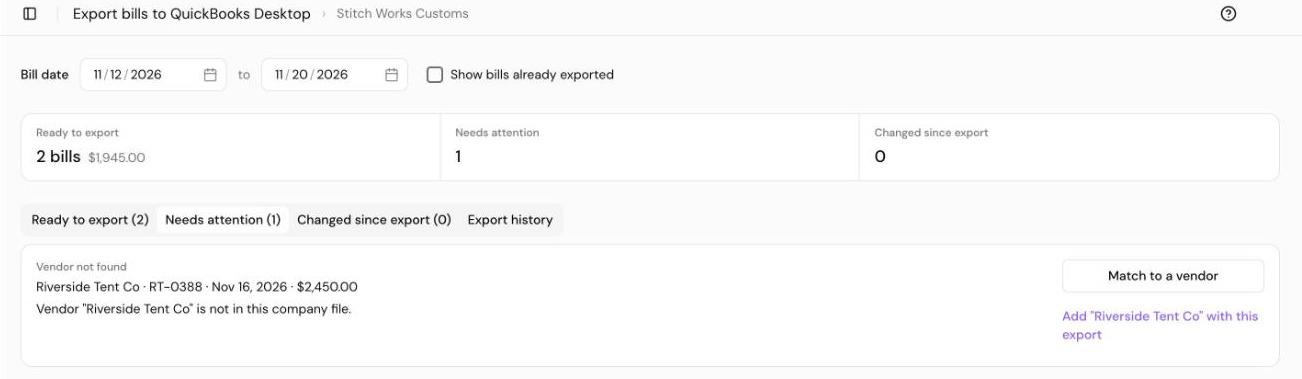
An IIF import only works when names match the company file exactly. Cleo checks every line against the lists you uploaded and flags any line whose account, vendor or Customer:Job is not in them, before you export. Fix the flagged lines in Cleo, or add the missing name in QuickBooks Desktop and upload your lists again.
| Data | In the IIF file | Details |
|---|---|---|
| Bill header | Included | Vendor, A/P account, bill date, due date, Ref No. and memo. |
| Bill lines | Included | Account, Customer:Job, amount and memo for each line. |
| New vendors | Optional | Cleo suggests the closest existing QuickBooks vendor, or can add the vendor to QuickBooks in the export file. |
| Payments and payment status | Not included | Payments made in Cleo are not exported. Record them in QuickBooks Desktop, for example with Pay Bills. |
| Invoice files | Not included | The PDF or image of the invoice stays in Cleo. |
Payments stay a manual step in QuickBooks
Cleo pays the bill, but the payment is not written back to QuickBooks Desktop today. Record it in QuickBooks Desktop as you do now. If a bill is edited in Cleo after it was exported, it shows as "Changed since export" so you know the copy in QuickBooks needs the same change.
Tested in a customer workflow
With one customer, bills were approved in Cleo and a two-bill IIF file was imported into their QuickBooks Desktop company file successfully.
Questions
QuickBooks Desktop bill pay questions
Does this work with QuickBooks Desktop?
Is it an automatic sync?
What is an IIF file?
Can I use multiple companies?
How do paid bills appear in QuickBooks?
See a bill go from Cleo into QuickBooks Desktop
We will upload a lists file, approve and pay a bill in Cleo, and show you the IIF file you import into QuickBooks Desktop.